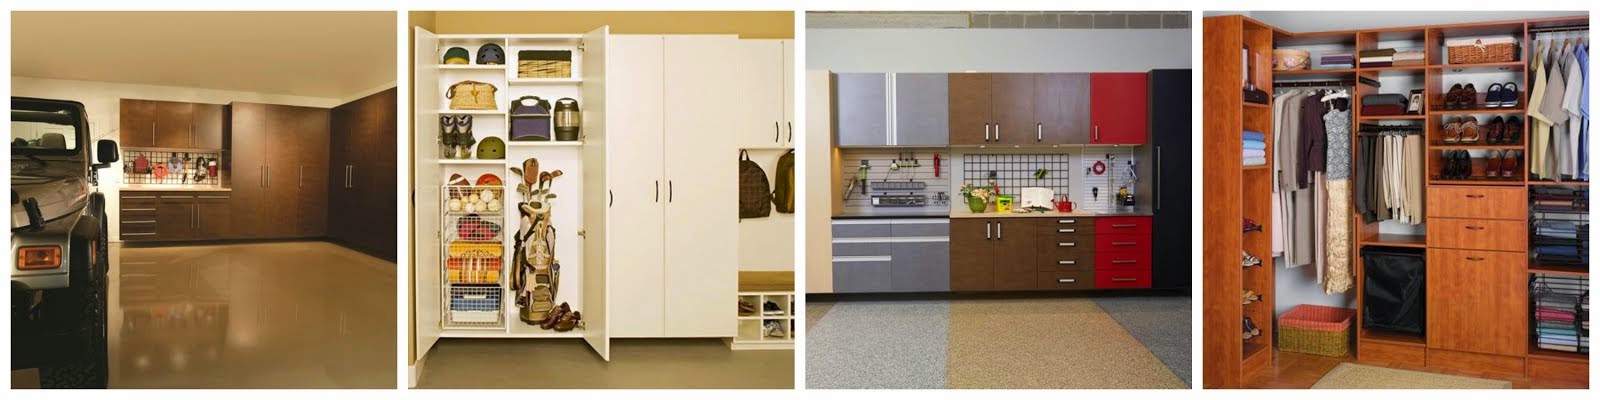
Custom Organizational Solutions

Showing posts with label home decor. Show all posts

Monday, March 25, 2019

How to Tile a Vanity

How to Tile a Vanity
 A tiled vanity top isn't reserved for a luxe lifestyle. Get this artisanal look in your home with our instructions.

A tiled vanity gives your bathroom a designer look without completely redesigning the whole room. If you plan to tile a bathroom wall, tiling the vanity will make the vanity and sink an integral part of the space.
Even if your existing base cabinet is in good condition, you'll have to build up the top. Commercial vanity countertops are made to handle less weight. Remove the top and add bracing, a 3/4-inch plywood base, and polyethylene waterproofing membrane.
Buy the tile for all the surfaces you'll be tiling — vanity tile, wall tile, and bullnose trim. That way you can be more certain of getting tiles of a consistent color throughout the entire project. Make sure the cartons have the same lot number.
Select the right tile to use on your vanity. Use glazed tile 3/8 to 1/2 inch thick. Purchase a sink whose texture matches the glaze — vitreous china and enameled cast iron are good choices. Self-rimming sinks are easy to install, and the rim will cover the rough edges of the cut tile.

What You Need

  • Circular saw
  • Cordless drill
  • Jigsaw
  • Level
  • Stapler
  • Notched trowel
  • Beater block
  • Straightedge
  • Caulking gun
  • Grout float
  • Drywall screws
  • 3/4-inch exterior grade plywood
  • Cement backerboard
  • Backerboard screws
  • Tile
  • Thinset mortar
  • 4-millimeter polyethylene or 15-pound felt
  • Grout
https://www.bhg.com/home-improvement/kitchen/installation-how-to/how-to-tile-a-vanity/

Friday, September 14, 2018

Decorative Texture flooring

Our decorative Texture flooring is available in 18 standard decorative chip color blends, depending on your preference. You have the option of blending chip colors to create a floor that is uniquely your own. Time to get creative!

Friday, June 1, 2018

5 Strategies for Organizing Your Pantry

5 Strategies for Organizing Your Pantry 


1. Invest in clear containers and a labeler.

This storage solution is especially helpful for bulk-bin items, like rice, grains, and nuts. With neatly labeled clear containers, gone are the days of having four partially open bags of quinoa.
2. Assess your pantry on a weekly basis.

Keeping your pantry organized and in good shape doesn't have to be a huge, time-consuming task. Instead, make it part of your weekly meal-planning routine by taking a few minutes to do a quick inventory. Knowing what's in there is the best way to make sure you're cooking and eating what you already have, and avoid buying multiples of the same thing.
3. Use sheet pans to group like with like.

Heavy-duty and multipurpose, sheet pans and hotel pans make especially good organizers. Not only do they make grouping like ingredients together easy, but they're also a great way to contain any inadvertent spills or leaks.
4. Take 10 minutes every day to keep your pantry clean and tidy.

A few everyday tasks that take just a few minutes — like wiping down pantry shelves, keeping package labels facing outward and visible, grouping like items together, and tossing expired items — will leave you with an always-tidy pantry.
5. Make use of household items to give your pantry more storage space.

From crates and space-saving racks to pencil holders and magazine racks, household items can be a smart and inexpensive way to add even more storage to your pantry. If everything has a special place or holder, you'll be less likely to mess it all up when looking for that one can of beans you're sure you bought three weeks ago.

https://www.thekitchn.com/5-strategies-for-organizing-your-pantry-and-keeping-it-that-way-224037


Friday, May 19, 2017

You're in Control!

Our proven storage design process breaks the seemingly overwhelming task into small, manageable segments, putting you in control.

Step One:  Find the Tailored Living designer in your area to schedule a free, in-home consultation.
Starting with a preliminary discussion to determine your needs makes the in-home consultation to go smoothly and ensure that time spent is maximized.


Step Two: The free, in-home consultation
Your designer will spend time in your home discussing your space needs and multiple design options for custom, effective storage solutions that will help you meet your organizational goals.


Step Three: The final decision
Once you’ve finalized your design, you’ll receive a written estimate, detailing everything about your order.

Step Four: Behind the scenes
This is designer territory.


Step Five: Installation and celebration
Tailored Living professional installers arrive on time with everything they need to do full installation.

Tuesday, December 27, 2016

Decluttering Tricks for Kids' Rooms


1. Create a toy rotation bin

The simple truth behind organizing anything is that the more stuff you own, the more time you need to maintain that stuff. That's why limiting the number of toys and clothes your child owns will make a dramatic difference in how much time you spend asking them to "clean up." To ease into a more minimalist kids room, start with a toy rotation. Grab two or three plastic bins and start filling them with groups of toys that go together that your child is not "into" at the moment. Take the bins and store them up in a linen cupboard or in your family storage unit—the important thing is to keep them out of sight. You'll find that when you bring those toys back, it will be just as exciting as bringing in brand new toys since they haven't seen them in a while.

2. Make the closet kid-proof

You can make clean-ups easier on your kiddos and yourself by designing a closet that is difficult to undo. Keep folded clothes on shelves out of reach, so your littles can't pull all the clean laundry onto the floor while attempting to dress themselves. Or maybe add another curtain rod at kiddo height in the closet and put just a few outfits for them to choose from. Use plastic baskets or kitchen utensil drawer dividers to keep socks, underpants and T-shirts from getting jumbled up.

Tuesday, December 6, 2016

Did you know?


Every year more than 400 million people celebrate Xmas around the world — that makes Xmas one of the world’s biggest religious and commercial festivities. In approximately year 300 A.D., the birthday of Jesus was determined to be on December 25, the day that has been celebrated from then till this very day. The celebration on the 25th of December starts with Christmas Eve, the evening of December 24.

The religious festival is originally a blend of pagan customs. The Romans held a festival on December 25 called Dies Natalis Solis Invicti, i.e. “the birthday of the unconquered sun.”. Pagan Scandinavia celebrated a winter festival called Yule, held in late December to early January. However, it is uncertain exactly why December 25 became associated with the birth of Jesus since the Old Testament doesn’t mention a specific date of the event.

Tuesday, September 6, 2016


Everyone experiences gloomy Sunday afternoon feelings from time to time. But if your home feels like it's been in a constant state of the blues, it's time to banish those negative, sad and downright depressing vibes that can have a dramatic effect on your mood once and for all. Trust us, you do want to try these techniques at home.​ Read here 15 Ways to Get Rid of Negative Energy in Your Home.

Friday, June 24, 2016

Top 4 Ways to Organize and Enhance Your Garage:

  1. Determine the best garage layout. You can utilize a combination of cabinets, shelving, activity organizers and overhead storage racks. The goal is to have a versatile garage organization and storage system that can change with your needs. Remember to keep your kids’ items within their easy reach. Make sure to use cabinets specifically built for the garage with extra strength features like 1-inch thick shelves, fully adjustable shelves and mounted off the floor which eliminates pest filtration as well as potential for water and mold damage. Make sure to incorporate all your needs with the storage system such as shoe storage, wardrobe cabinet for jackets & coats, soft goods storage such as paper towels & toilet paper, sodas/water, etc. 

  2. Now that you're organized, and because it is more than "just a garage," PremierGarage can install a Premier NX state-of-the-art flooring system that is easy to clean, durable and provides lasting beauty to the largest room in your house. When considering a floor coating system for your garage, look for systems that utilize polyurethane as the finish coat. Traditional epoxies wear faster, and do not maintain the long-lasting shine and durability of the latest polyurethane finishes.   
  3. Keeping the garage neat and orderly is easy when it starts out organized. With your items categorized and stored away in cabinetry, it becomes much easier to determine annually what you need (because you have had it in and out of the cabinet several times), and what can be purged. Being able to find your items easily saves time and money, as you won't be purchasing things you already have, but can't find.
  4. The right garage storage system should allow for easy washing of the floor that will keep it clean and prevent tracking mud and dirt into your home. Please don’t hesitate to contact our offices should you have any questions or would like assistance in developing your plan.

Friday, June 3, 2016

5 Secrets to Making a Bed Like a Hotel Housekeeper

If you asked me before I spent a day shadowing the Director of Housekeeping (Linda Ajdari) at New York City's The Marlton Hotel how to make a bed, I would have told you a rather sad tale about fluffed pillows and fitted sheets which would have made Ajdari cringe. Now, I know better. Lucky for you, I'm sharing my new-found wisdom so you can use it, too.

1. Forget the fitted bottom sheet.

The reason hotel beds make you feel like the rice and beans in a tightly-wrapped Chipotle burrito is because instead of using a fitted sheet around the mattress, they use two identical top sheets. First, lay both down flat on the mattress, then you tuck the sheets into the sides and the end of the bed, leaving the corners hanging out.
Then, comes the "hospital corner fold." To do this, lift the edge of the sheet to form a 45-degree angle with your mattress, then pull and tuck the hanging fabric under the mattress.
 

2. Use your duvet cover corners.

Next is the comforter, which actually takes the prize as the most-hated chore — thanks to the tricky duvet. To conquer this cover solo, use both hands to grab the top corners of the comforter from the outside, then reach through and pull the fluffy comforter up with you until it's engulfed in the duvet. Harder than it looks.


3. Relax wrinkles with misted water.

No, you don't need an iron or steamer to smooth out crinkled sheets. The secret is a spray bottle full of plain old tap water. First, spritz the liquid evenly across your duvet cover on your almost-made bed (the corners should still be sticking out). Then shake the top layer until you can see the creases start to settle.

4. Karate chop your comforter.

To make sure the amount of comforter you fold inwards (allowing space up top for the pillows to sit) is even on both sides, use your arms as a guide. When you karate chop about two feet into the fabric, you can fold both ends down from one side of the bed.


5. Flatten pillows so they stand tall.

Put your hands in the middle, then slowly push both them out in opposite directions repeatedly to make your pillow about half as thick as before you started. Then, grab the top two corners of your pillowcase and stand the pillow up next to the headboard. Next, stack your other pillows against this base pillow (as opposed to simply leaning all your pillows against the headboard, which many of us do at home). If you've successfully made a "happy" pillow it should stand tall and proud on its own.

And that's it! After tossing on an accent throw, the bed is complete and ready for guests to curl up inside — or for you to take a nap on at home. See original here.


Friday, March 25, 2016

Decorating Trends

If you are looking to modernize your look or just shake things up a bit this year with your home’s décor, there are lots of fun home fashion trends to consider:
  • Pale pastels and white-on-white paint colors
  • Geometric, leaf and nature images, ethnic prints
  • Natural textures and textiles; outdoor fabrics used indoors
  • Mixed metals, including brass, steel, gold, silver, rose gold, black
  • Combining vintage and modern furniture styles
  • Using black in surprising ways; walls, furniture, ceilings
  • Wicker and Rattan move indoors as viable furniture choices
Regardless of the decorating trends you choose to follow, having uncluttered spaces and functional storage will make your home much more enjoyable with inviting rooms and comfortable surroundings. You can fill your home with the things you love, but still maintain order with innovative designs from Tailored Living for custom closets, home offices, entry ways, laundry rooms, garages and more.